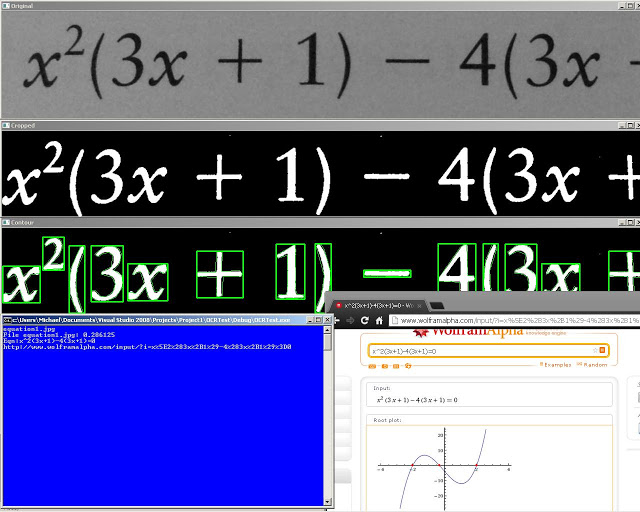
I’ll be doing a series on using OpenCV and Tesseract to take a scanned image of an equation and be able to read it in and graph it and give related data. I was surprised at how well the results turned out =)
I will be using versions OpenCV 2.4.2 and Tesseract OCR 3.02.02.
I have also made two tutorials on installing Teseract and OpenCV for Vista x86 on Microsoft Visual Studio 2008 Express. However, you can go on the official sites for official documentation on installing the libraries on your system.
Parts
Equation OCR Part 1: Using contours to extract characters in OpenCV
Equation OCR Part 2: Training characters with Tesseract OCR
Equation OCR Part 3: Equation OCR
Tutorials
Installing OpenCV:
http://blog.ayoungprogrammer.com/2012/10/tutorial-install-opencv-242-for-windows.html/
Installing Tesseract: http://blog.ayoungprogrammer.com/2012/11/tutorial-installing-tesseract-ocr-30202.html/
Official Links:
OpenCV : http://opencv.org/
Tesseract OCR: http://code.google.com/p/tesseract-ocr/
Overview:
The overall goal of the final program is to be able to convert the image of an equation into a text equation that we will be able to graph. We can break down this project into three parts, extracting characters from text, training for the OCR and recognition for converting images of equations into text.
Training
We will split the training process into two parts: classifying and Tesseracting. In classifying, we will use the extraction method in part one to create a program to generate training data for Tesseract. We will extract characters and have a user identify the character to be classified. The characters will go in folders labelled with the character name. For example all the 9’s will go in the “9” folder and all the x’s will go in the “x” folder. For the Tesseracting part, we will take our training data and run through the Tesseract training process so that the data can be used for OCR.
Classifying
Classifying will take the longest time because the training data will need about 10 samples of each character. Our characters are the digits 0 to 9, left bracket, right bracket, plus signs and x. We will ignore dashes because they can be easily recognized as shapes with width three times greater than length. We can also ignore equal signs because they are just two dashes on top of another. With some slight modifications to the extraction program in part 1, we can make a training program for this. The training data I took required about 30 different images of equations.
Tesseracting
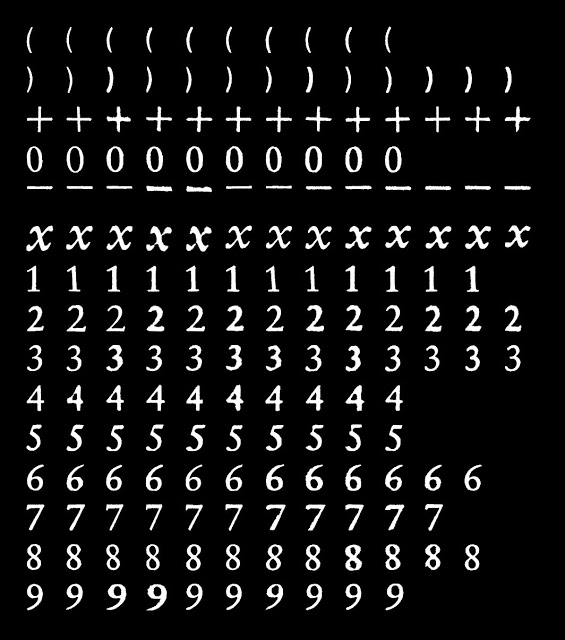
The original Tesseract training method is confusing to understand in their documentation and their method of training is very tedious. Their recommended training method consists of giving sample images and also in another data file, indicate the symbol and rectangle that corresponds to the character in the image. This as you can imagine becomes very tedious as you will need to find the coordinates and dimensions of the rectangle to the corresponding character. However, there are a few online GUI tools you can use to help with the process. I, on the other hand am very lazy and did not want to go through a hundred rectangles so I made a program that will generate an image with the training data and also generate the corresponding rectangles. The final result is something like this:
Source code here:
Now that we have finished created the training boxes, we can feed the results into the Tesseract engine for it to learn how to recognize the characters. Open up command prompt and go to the folder where your .tif file and file containing the rectangle data. Type in tesseract and hit enter. If it says command not found it means you did not install Tesseract properly.
To start the training: (mat for math)
tesseract mat.arial.exp0.tif mat.arial.exp0 nobatch box.train
Now you will see that Tesseract has generated a file called mat.arial.exp0.tr. Don’t touch the file. Next we will have to tell Tesseract which possible characters we are using. This can be generated by running:
uncharset_extractor mat.arial.exp0.box
Create a new file called font_properties (no file type like the unicharset, I just copied the unicharset file and save it under a new name called font_properties). Do not use notepad as it will mess up formatting. Use something like WordPad. Inside font_properties type in:
arial 1 0 0 1 0
Next to start mftraining:
mftraining -F font_properties -U unicharset mat.arial.exp0.tr
Shape clustering:
shapeclustering -F font_properties -U unicharset mat.arial.exp0.tr
mftraining again for shapetables:
mftraining -F font_properties -U unicharset mat.arial.exp0.tr
cntraining for clustering:
Now we have to combine all these files into one file. Now rename all the following files:
inttemp -> mat.inttemp
shapetable -> mat.shapetable
normproto -> mat.normproto
pffmtable -> mat.pffmtable
unicharset -> mat.unicharset
To generate your new tess data file:
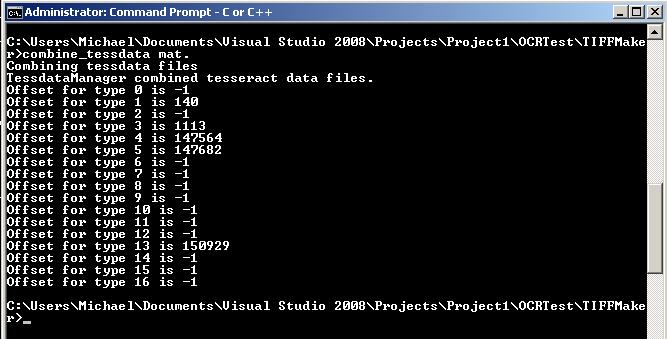
combine_tessdata mat.
The final generated file is mat.traineddata. Move this file into the tessdata folder in the Tesseract installation folder so that the Tesseract library can access it -> C:Program FilesTesseract-OCRtessdata
To test go into one of your test data folders like “1” and run tesseract with your language file:
tesseract 1.jpg output -l mat -psm 10
In the output file you should see the character “1”. Congratulations, you have just trained your first OCR language!
Source codes:
Classifying characters:
http://pastebin.com/iJQsPh9L
Generating Tesseract training data:


