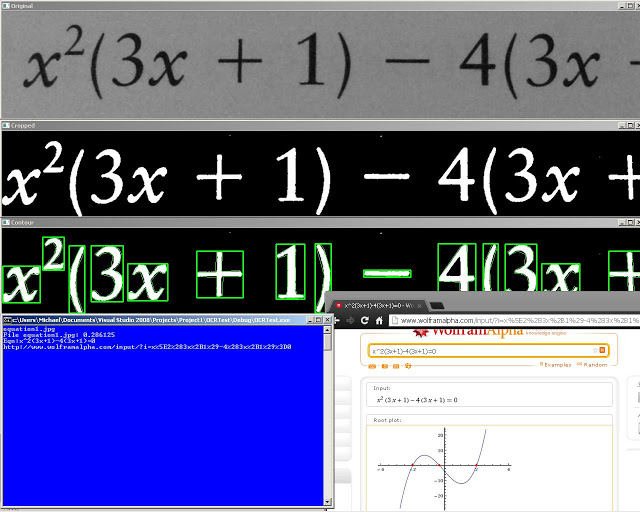
This will be my first tutorial and actual blog post so please bear with me. So for those of you don’t know what OpenCV is: it’s a Open Source library for advanced computer vision algorithms which would otherwise require postgrad work. I think graphical computation is fascinating work because of the various things you can do with it (like make a real time sudoku solver) but I also think it is very difficult to implement. Humans perceive the world through their eyes and we are able to see objects, textures, curved surfaces, and many other things a computer cannot naturally do. Computers on the other hand see things as 1’s and 0’s or as a grid of pixels made of colours. We can easily distinguish objects and words (most of the time, if it’s not my handwriting) and we are also able to fill in things we can’t see with our brain. If something we see is blurry or obscured we are able to use our intuition to fill in what we can’t see. OpenCV allows computers to perceive images in similar ways but yet very differently from humans.
The OpenCV library is an open source library which means it is free to use but it also means that the documentation is not the greatest. Trying to install OpenCV and getting a program to run took me 3 hours going through various tutorials and guides. The legitimate OpenCV guide to installing did not work for me as well as the other guides. I combined a couple of methods together to get it finally working after hours of frustration.
Anyways that was my spiel on computer vision. I have Microsoft Visual Studio 2008 Express installed on my computer on a Windows Vista (x86 machine). These are the steps I used to get OpenCV working on my computer:
1. Download the OpenCV Project
Download the file at: http://sourceforge.net/projects/opencvlibrary/files/opencv-win/2.4.2/OpenCV-2.4.2.exe/download and run the .exe. The application should have extracted a bunch of files into a folder called opencv.
2. Download CMake
Now download CMake which will be used to “build” the project: http://www.cmake.org/files/v2.8/cmake-2.8.9-win32-x86.exe.
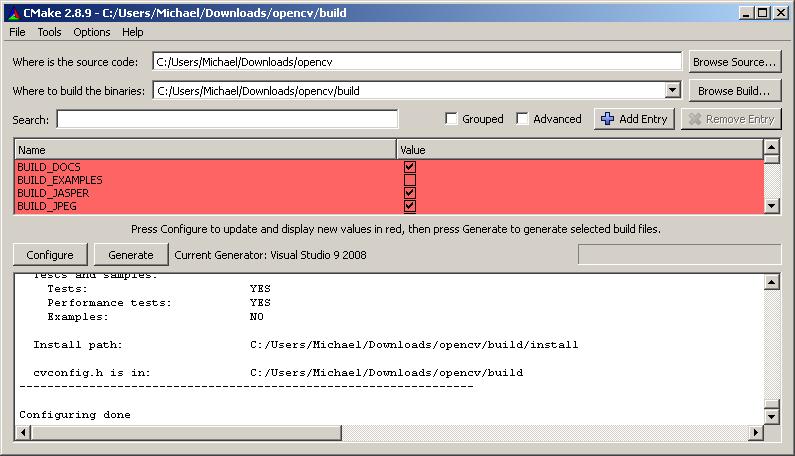
3. Run the CMake GUI program.
Where is the source code: <your OpenCV folder>
Where to build: <your OpenCV folder/build>
4. Build the binaries for your OpenCV library
Click configure and select Visual Studio 9 2008.
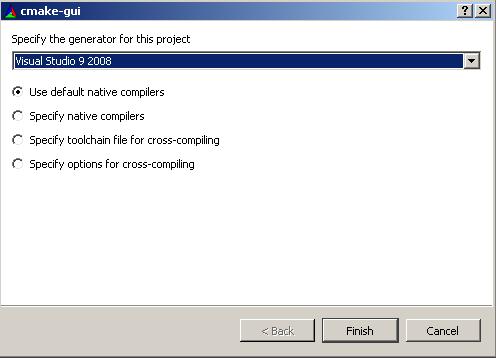
Click Finish and it will output some information on your compiler.
5. Keep clicking generate until you get no more red text.
6. Configure in Visual Studio 2008 Express
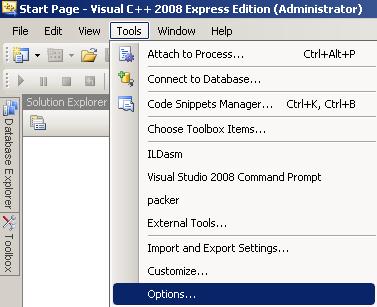
Once you’re done that, open up Visual Studio 2008 Express. Tools -> options
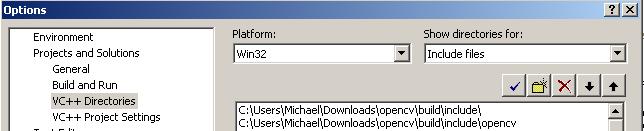
In your “include files” add the following directories:
<your opencv folder>buildinclude
<your opencv folder>buildincludeopencv
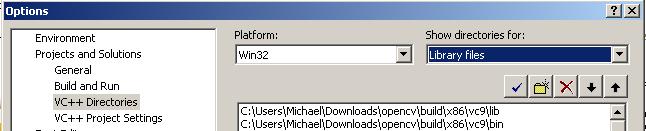
In your “library files” add the following directories:
<your opencv folder>buildx86vc9lib
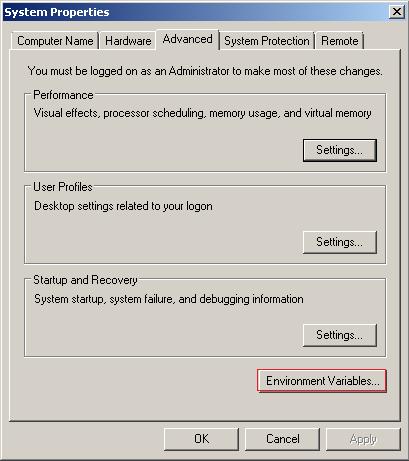
7. Configure .dlls to be used in system
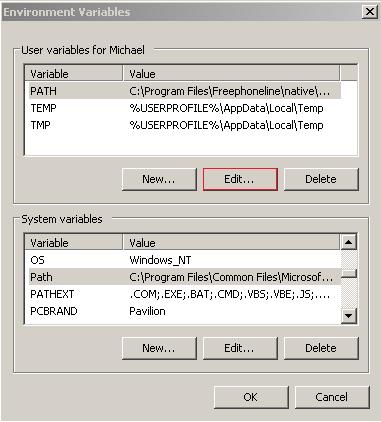
Computer-> right click (properties) -> Advanced system settings
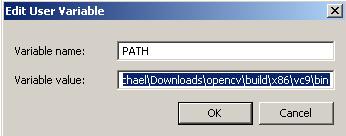
In user variables, go to path and click edit.
Add this line exactly as it is to the variable value. Key word: add. If you delete everything in there, you’re going to have a bad time.
;<your OpenCV folder>buildx86vc9bin>;<your openCV folderbuildcommontbbia32vc9
8. Create Hello World in OpenCV
Create a new Visual Studio 2008 Express projects. File-> New -> Project.
An empty win32 console project will be fine.
Create a new .cpp file and copy this hello world code into it:
 #include <cv.h>
 #include <highgui.h>
 int main ( int argc, char **argv )
 {
  cvNamedWindow( "My Window", 1 );
  IplImage *img = cvCreateImage( cvSize( 640, 480 ), IPL_DEPTH_8U, 1 );
  CvFont font;
  double hScale = 1.0;
  double vScale = 1.0;
  int lineWidth = 1;
  cvInitFont( &font, CV_FONT_HERSHEY_SIMPLEX | CV_FONT_ITALIC,
        hScale, vScale, 0, lineWidth );
  cvPutText( img, "Hello World!", cvPoint( 200, 400 ), &font,
        cvScalar( 255, 255, 0 ) );
  cvShowImage( "My Window", img );
  cvWaitKey();
  return 0;
 }
Before we can compile it, first we need to link the opencv libraries with our own project. This can be done by right clicking your project in visual studio and clicking properties.
Go to linker->input and add to additional dependencies:
opencv_core242d.lib
opencv_imgproc242d.lib
opencv_highgui242d.lib
opencv_ml242d.lib
opencv_video242d.lib
opencv_features2d242d.lib
opencv_calib3d242d.lib
opencv_objdetect242d.lib
opencv_contrib242d.lib
opencv_legacy242d.lib
opencv_flann242d.lib
You will need to do this for every project you make (I’m not sure how to make this work for all projects, but if you find out leave a comment)
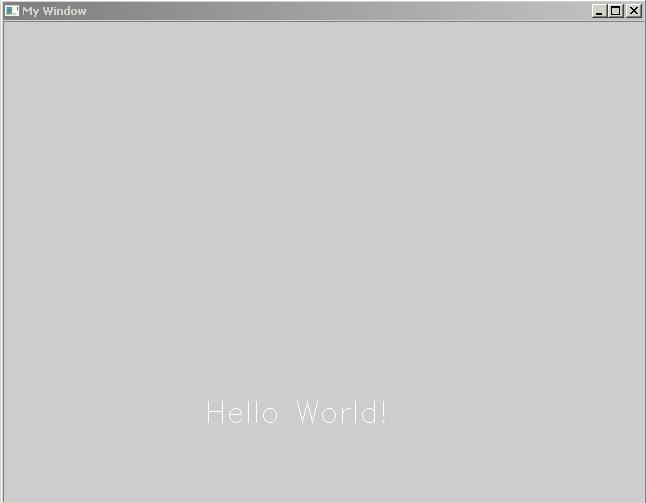
9. Run your progam
You should get this:
I hope this helped you even if you didn’t have the exact specs as me.
If this isn’t working for you, leave a comment below and I’ll try to get back to you as soon as possible.

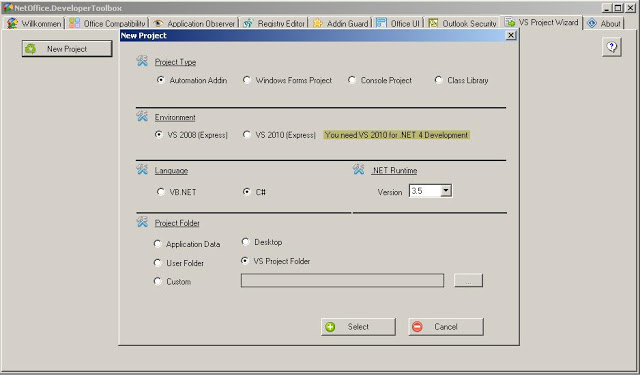
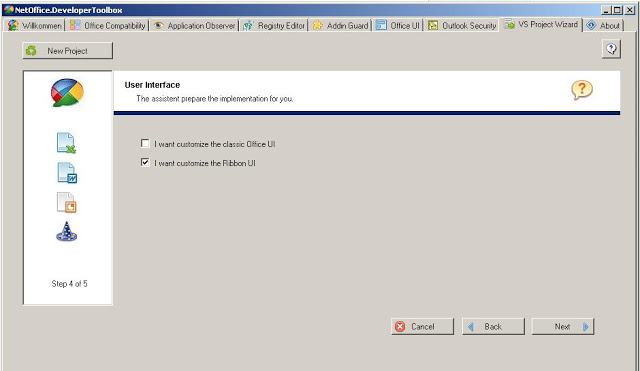
 Fill out additional options
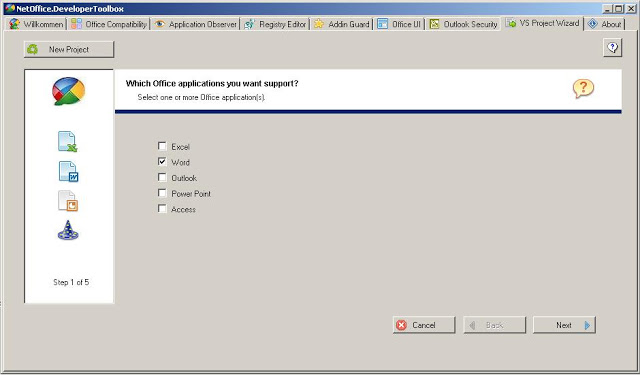
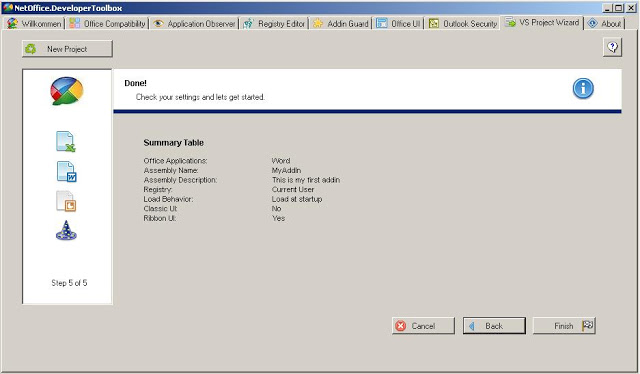
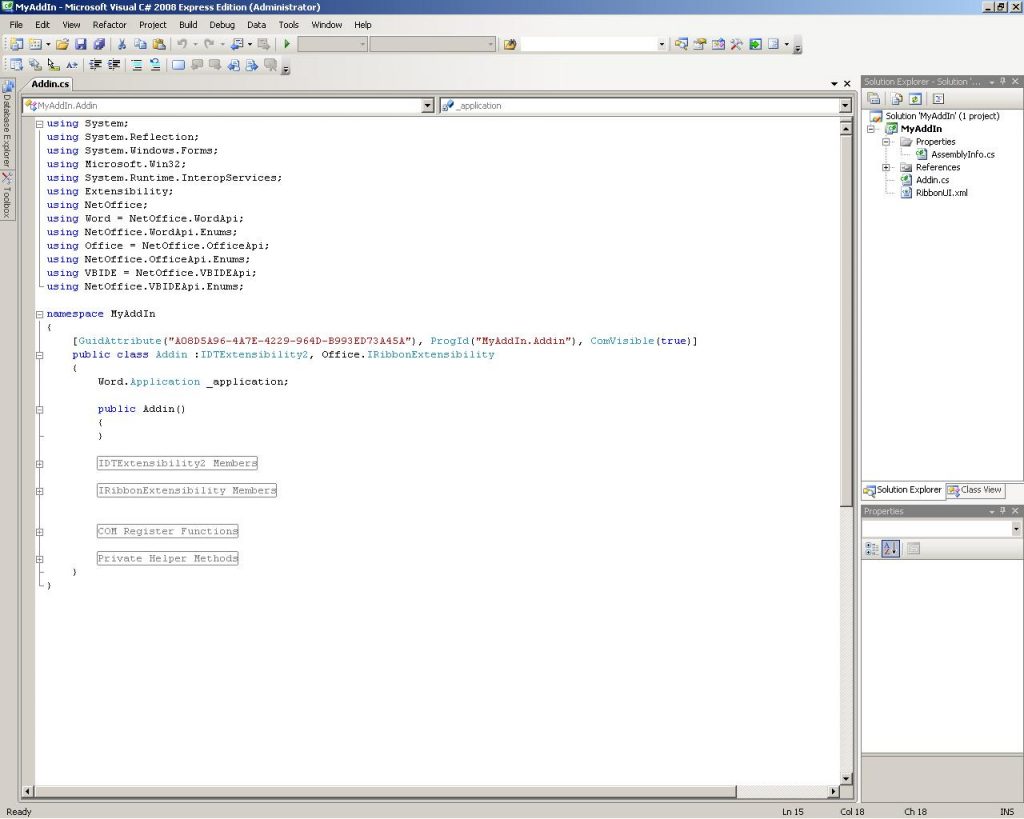


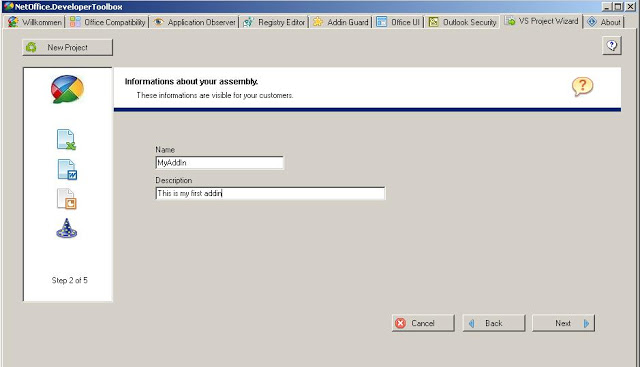
 Fill out additional options
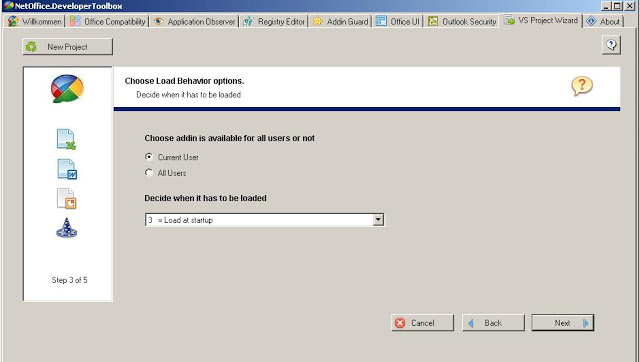
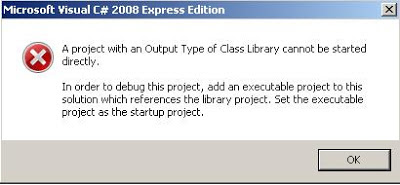